We pride ourselves on the performance of our RetroPlate System.
If you have any questions, please contact us to discuss.

We pride ourselves on the performance of our RetroPlate System.
If you have any questions, please contact us to discuss.


Grinding removes imperfections, marks and scratches, and exposes bare concrete by removing existing coating or mastic.
Grinding can be light to heavy depending on the desired level of exposed aggregate.
A new floor’s colored aggregate, recycled glass or other decorative material can be broadcast into the surface to be exposed during the grinding process

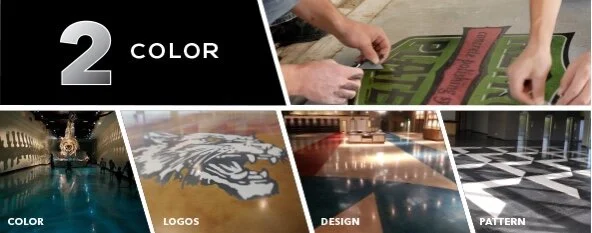
Achieve any look and style with full colour floors, custom logos or unique patterns.
Colour options for polished concrete include: integral color, dry shake and topical dyes and stains.


RetroPlate penetrates the concrete and chemically reacts to harden and densify the floor by filling-in pores and creating a dense surface.
Densification is key to the long-term benefits of polished concrete.
Many densifiers on the market claim to work for polished concrete, but there is only one RetroPlate.
This polishing procedure is what produces the floor’s sheen.
A floor can be polished to a flat (ground), satin (honed), polished or highly polished finish.
Adding color or seeded material allows for unlimited possibilities in design.